Social Media Trends: Stay Updated by Downloading the Latest Reels
In the fast-paced world of social media, staying updated with the latest trends is crucial for maintaining relevance and engagement. One of the most popular trends in recent times is the rise of short-form video content, particularly in the form of “Reels” on various social media platforms like Instagram. In this article, we’ll delve into the significance of staying updated with social media trends, understanding Reels, and how to instagram reels download content to keep your audience engaged.
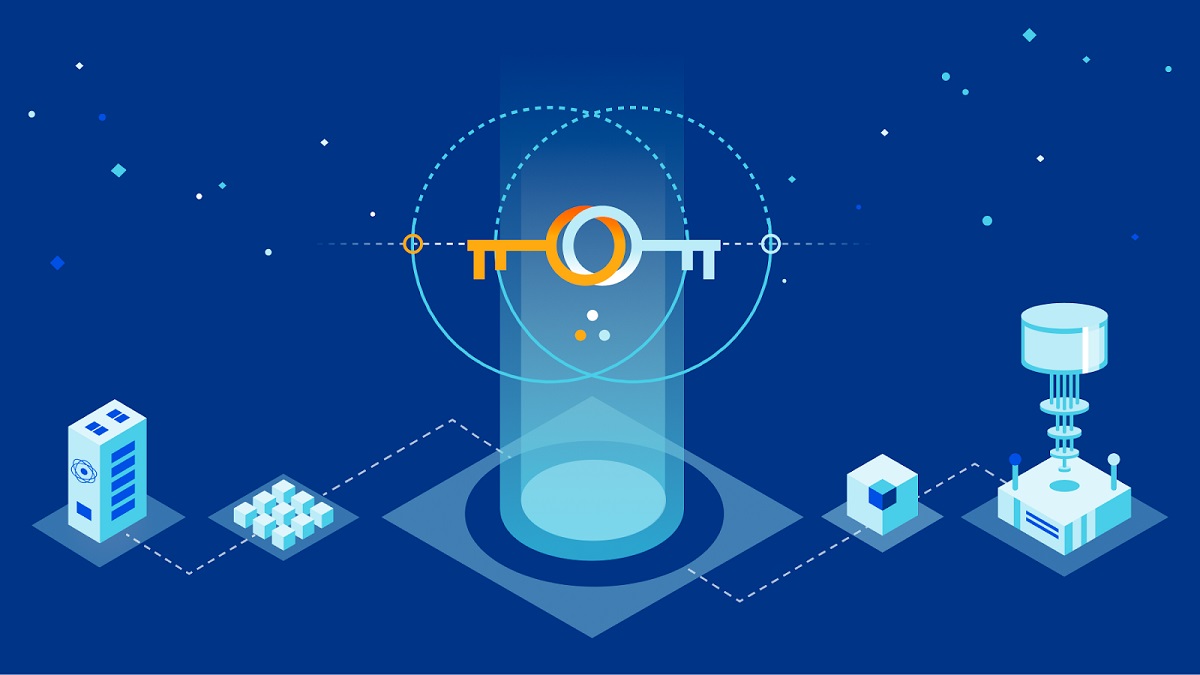
Quantum-Safe Crypto: Securing in the Quantum Era
In today’s digital age, where cybersecurity threats are ever-evolving, the emergence of quantum computing poses a significant challenge to traditional cryptographic systems. Quantum-Safe Crypto, also known as Post-Quantum Cryptography, is a burgeoning field that aims to address these challenges and secure our data in the quantum era. The Rise of Quantum Computing Quantum Computing: A […]

Digital Nomad Tools: Work and Travel Essentials
Digital nomadism has emerged as a popular lifestyle choice for individuals seeking the freedom to work remotely while exploring the world. This unique way of living combines work and travel, allowing individuals to experience new cultures while maintaining a career. However, to thrive in this lifestyle, digital nomads rely heavily on a variety of tools […]

E-Sports Evolution: From Niche to Mainstream
In the early days, e-sports struggled to gain recognition beyond a niche community of gamers. Matches were often held in small venues with limited audiences, and prize pools were modest compared to traditional sports. However, the advent of online streaming platforms such as Twitch and YouTube Gaming provided a platform for e-sports to reach a […]

Hybrid Events: Blending Virtual and Physical Experiences
Hybrid events have emerged as a dynamic approach to hosting gatherings that integrate both physical and virtual components. They offer a unique blend of in-person interactions and digital engagement, catering to a diverse audience spread across geographical locations. Understanding the essence of hybrid events involves grasping the symbiotic relationship between the physical and virtual realms, […]